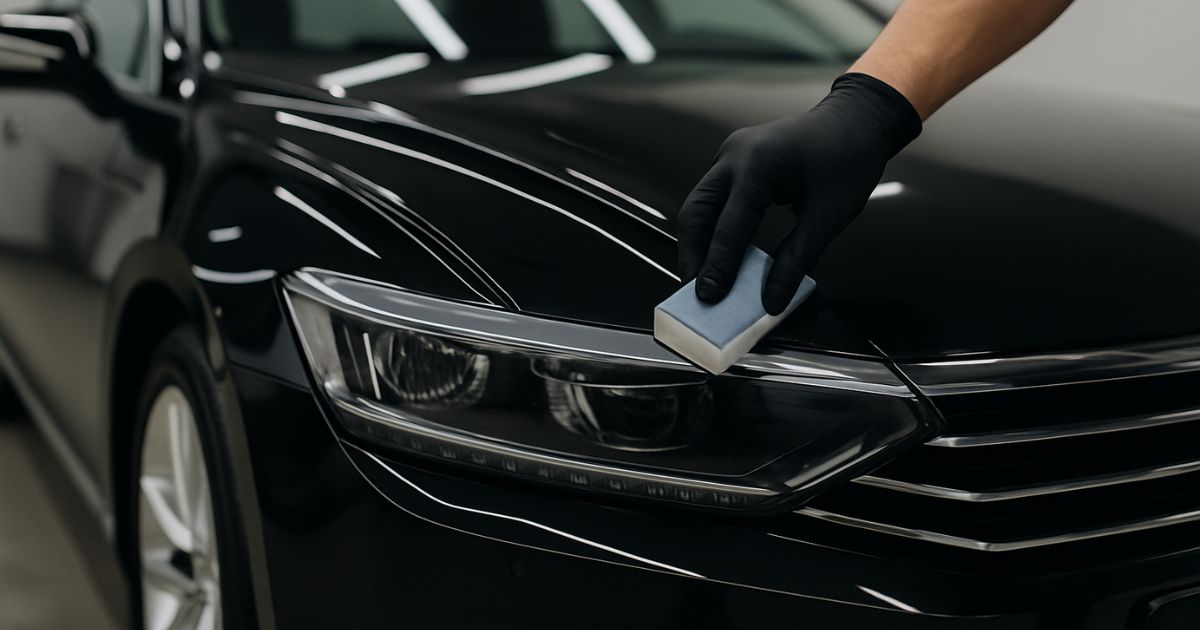


Getting quality window tint installed is a straightforward decision in Queensland. The heat reduction alone makes it worthwhile, and when you add UV protection, glare reduction, and improved privacy, the case becomes even clearer. What is less obvious to most people is that what happens after installation plays a significant role in how long that tint continues to perform and look the way it should.
Window tint is a durable product when it is maintained correctly, but it is also one that can deteriorate faster than it should when certain habits work against it. The good news is that looking after tint well does not require a complicated routine. It requires understanding a few straightforward principles and applying them consistently.
The first and most time-sensitive consideration happens in the days immediately following installation. When window film is applied, the adhesive that bonds it to the glass needs time to cure fully. During this period, the bond is still developing, and interfering with it can cause problems that are difficult or impossible to reverse.
The most important thing to avoid in the first 48 hours after installation is rolling the windows down. When the glass moves, it flexes the film before the adhesive has had the chance to set properly. This can cause the edges to lift or shift, creating weak points in the adhesion that lead to peeling or bubbling over time.
It is also common to notice small water pockets or a slightly hazy appearance in the film during the first few days after installation. This is a normal part of the curing process as residual moisture from the application works its way out from behind the film. In most cases these disappear completely as the adhesive finishes curing. They are not a sign of a problem with the installation.
Leaving the vehicle parked in a sheltered area out of direct sun during this initial curing period helps the process along. Heat exposure during curing is not catastrophic, but a stable environment supports a more even and complete bond across the entire surface of the film.
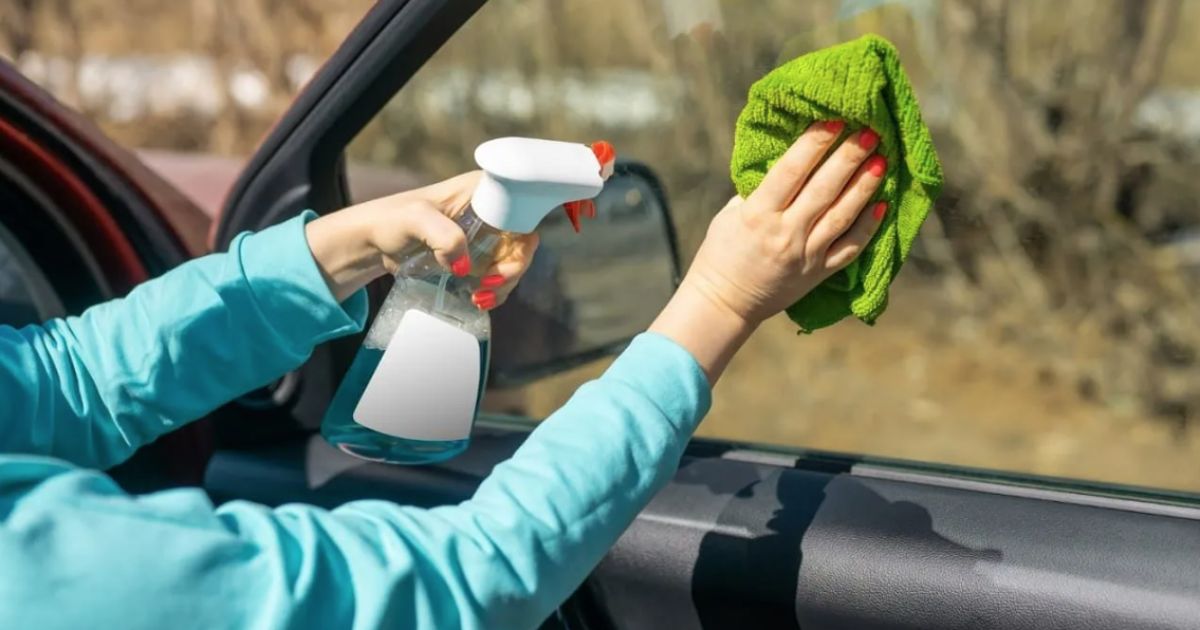
Once the tint has fully cured, cleaning the glass is the primary ongoing maintenance task, and the approach matters more than most people realise.
The key issue is that window film is applied to the interior surface of the glass. When you clean the inside of your windows, you are cleaning directly on the film itself, not on glass. The film surface is more sensitive than bare glass and can be scratched or chemically degraded by the wrong products.
The most important thing to avoid is any cleaner that contains ammonia. Ammonia is found in many standard glass cleaning products and it is effective at cleaning bare glass, but it breaks down the adhesive and dye layers in window film over time. Repeated exposure to ammonia-based cleaners is one of the more common causes of premature tinting failure, and it is entirely avoidable.
A mild, ammonia-free glass cleaner applied with a soft microfibre cloth is the correct approach. Microfibre is important because it is non-abrasive. Paper towels, rough cloths, and anything with a coarse texture can create fine scratches across the film surface that accumulate over time and affect the clarity of the tint. Once those scratches are there, they cannot be polished out of the film the way they can be on glass or paint.
The motion used when cleaning also matters. Wiping in straight, overlapping strokes rather than circular motions reduces the chance of trapping particles under the cloth and dragging them across the surface. Using a light amount of pressure is sufficient. There is no benefit to scrubbing harder, and doing so increases the risk of scratching.
On the exterior of the glass, standard cleaning products and techniques are fine. The film is on the inside, so the exterior surface is just glass and can be treated accordingly.
The edges of the film where it meets the window seal or the door frame are the areas most vulnerable to lifting over time. This is where the adhesive is under the most mechanical stress, particularly on windows that are opened and closed regularly.
High-pressure water aimed directly at the edges of the tint can work its way under the film and begin loosening the adhesive bond at the margins. Automatic car washes are generally fine for tinted vehicles, but avoiding sustained high-pressure spray directed at the window edges is a sensible precaution, particularly for windows on the doors.
When cleaning the interior of the vehicle, being mindful of objects near the glass is also worth considering. Seatbelt buckles, keys, and jewellery can all scratch the film surface if they make contact. This is more of a practical awareness than a strict rule, but it is one of those small habits that contributes to the film staying in better condition over the years.
Periodically inspecting the edges of the tint is a useful practice. Early signs of lifting at the margins, any areas where the film appears to be separating from the glass, or small bubbles developing near the edges are worth having looked at before they develop further. Catching adhesion issues early makes them more straightforward to address.
Quality ceramic window tint is designed to withstand sustained UV exposure without fading or degrading in the way that standard dyed films do. The ceramic technology does not rely on dyes to perform, so the colour shift that affects cheaper films over time is not a concern in the same way.
That said, every film has a lifespan, and minimising unnecessary UV and heat exposure over the long term does contribute to that lifespan being as long as possible. Parking in a garage or a covered area when the option is available is a simple way to reduce the cumulative thermal stress on the film and the vehicle interior generally.
This is not a critical consideration for ceramic film in the way it might be for a lower-grade product. A quality ceramic tint installed correctly will hold up well through years of Queensland sun exposure. But consistent parking habits that reduce unnecessary exposure do add up across the life of the film.
One of the practical advantages of ceramic window tinting over standard dyed alternatives is how it holds up to the cleaning and maintenance process over time. Because the performance characteristics of ceramic film come from the nano-ceramic particles embedded in the film rather than dyes, there is no colour layer to degrade through cleaning.
With standard dyed films, repeated cleaning, particularly with products that are not quite ideal, can gradually affect the dye layer and contribute to colour shift. Ceramic film does not have this vulnerability in the same way, which means the correct cleaning approach is less about protecting a fragile component and more about simply keeping the surface clean without introducing scratches.
This does not mean ceramic film can be cleaned with anything or treated carelessly. Ammonia-based cleaners and abrasive materials are still worth avoiding. But the margin for error is somewhat wider, and the film will maintain its appearance and performance more consistently across its lifespan with straightforward maintenance.
If the tint develops visible bubbling, noticeable colour changes, or areas where the film has clearly separated from the glass, those are signs that the film is failing rather than signs that cleaning has been inadequate. Maintenance can extend the life of good quality tint, but it cannot reverse material degradation that has already taken hold.
In those situations, the appropriate step is to have the film assessed by a professional. Depending on what is happening, it may be a localised issue that can be addressed, or it may indicate that the film has reached the end of its useful life and needs to be replaced. Either way, catching and addressing the problem early is better than allowing it to progress to the point where the film is affecting visibility or becoming a compliance issue.
Window tint maintenance comes down to a few consistent habits applied correctly over time. Waiting at least 48 hours after installation before rolling windows down allows the adhesive to cure properly. Cleaning with an ammonia-free product and a soft microfibre cloth protects the film surface from chemical damage and scratching. Avoiding high-pressure water at the edges and being mindful of sharp objects near the glass reduces the risk of lifting and surface damage. Ceramic film holds up more consistently to ongoing maintenance than standard dyed alternatives, but the same basic principles apply regardless of the product. Looking after tint well is not complicated, and the payoff is a film that continues to look good and perform as it should across its full lifespan.
At Prestige Protection we offer superior product and premium service for all car protection services. Save up to 50% off dealership prices when you choose us.
© 2026 Prestige Protection. Web Design